Tutorials - Flat rate
Build a simple SaaS application with flat rate pricing by cloning a pricing model, installing Tier SDK, and granting a paid customers access to your product.
What you'll build
In this quickstart guide, we’ll take you from learning how to clone a pricing model from the Model Builder to creating Stripe checkouts for payments with the help of Tier SDK.
This guide will show you how to:
- Clone a pricing model using Tier Model Builder.
- Push pricing model to Stripe
- Create a pricing page by fetching all plans from Tier.
- Implement Stripe checkout using Tier SDK and get paid.
Before getting started
To get the most out of this guide, you'll need:
- Stripe account & Stripe Secret Key
- Auth needs to be handled already in your project, we will be assuming that you already have the email of the user. You can use services like Clerk.dev, Auth0, Firebase, etc to handle your authentication needs.
Do note that you will never have to sync any Tier or pricing-specific details to your DB, we believe that Tier can always deliver the most updated pricing.
SDK Object definitions
| OrgInfo | Stores information about the user like email and name, it would be ideal if you can update these details before you request a checkout. |
| Answer | This object will be returned by the can() method to help the user report any usage of a given feature in the product. |
1. Clone our pricing model
We’ve already prepared a pricing model for single-plan flat pricing.
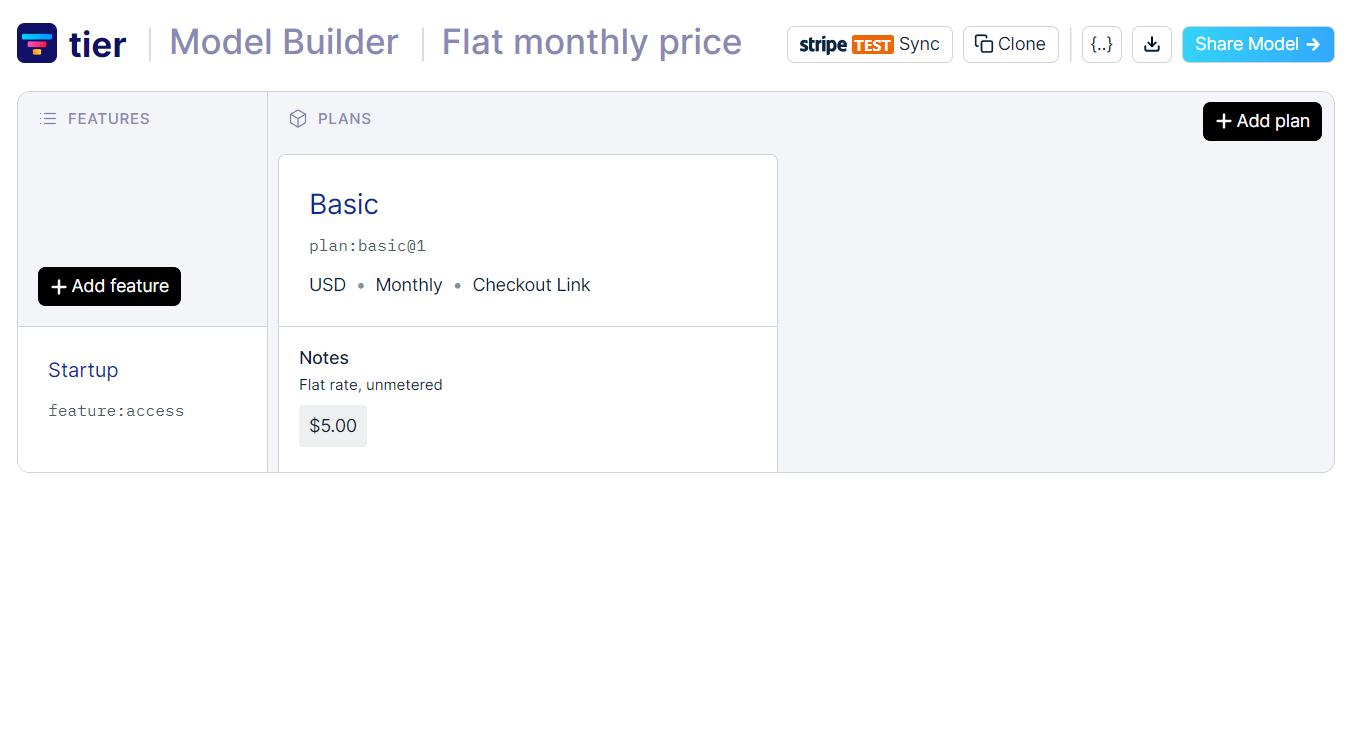
If you follow the link above, you will see that we have created a single plan called plan:basic@1 which is by default versioned, and that we’ve assigned a single feature for the application called feature:access.
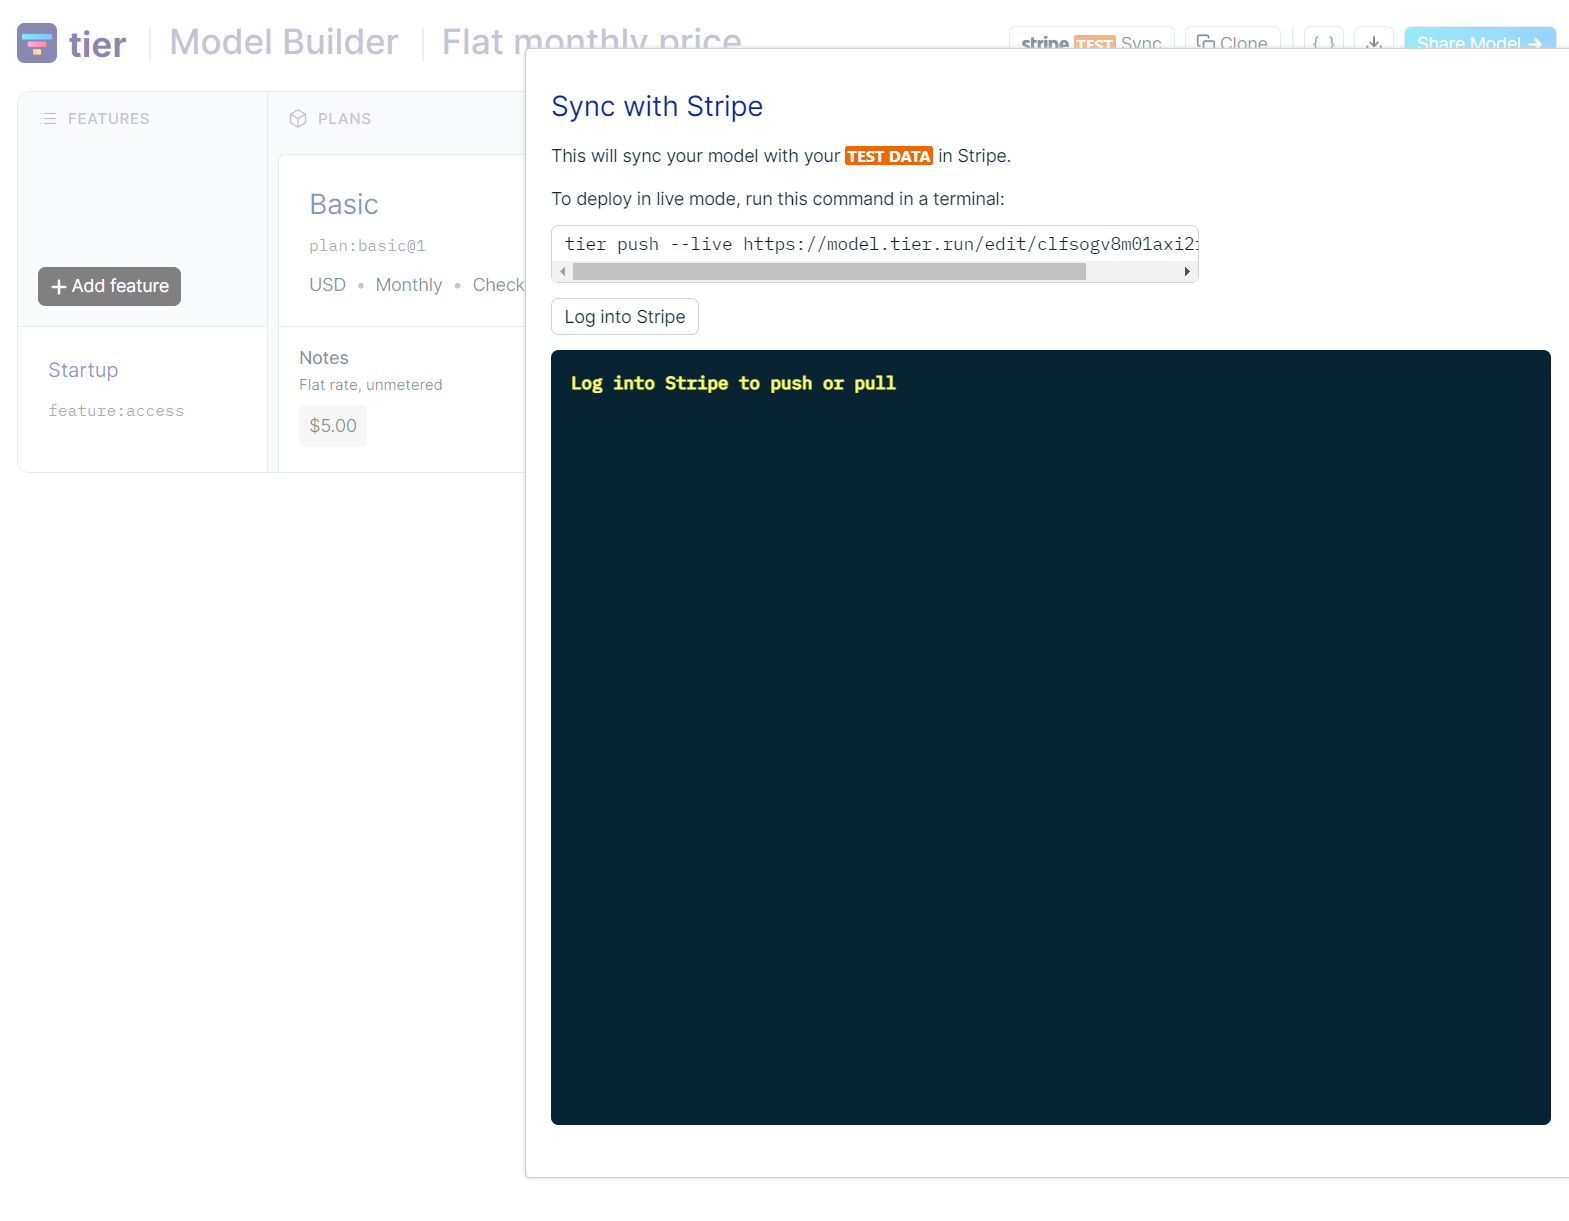
2. Sync with Stripe
Now that you have cloned the pricing model, we need to push the changes to Stripe. We have a seamless OAuth flow with Stripe to make things easy for you. In the model builder, you will see a button called “Stripe Sync”, which will open a side panel where you will need to log in to Stripe.
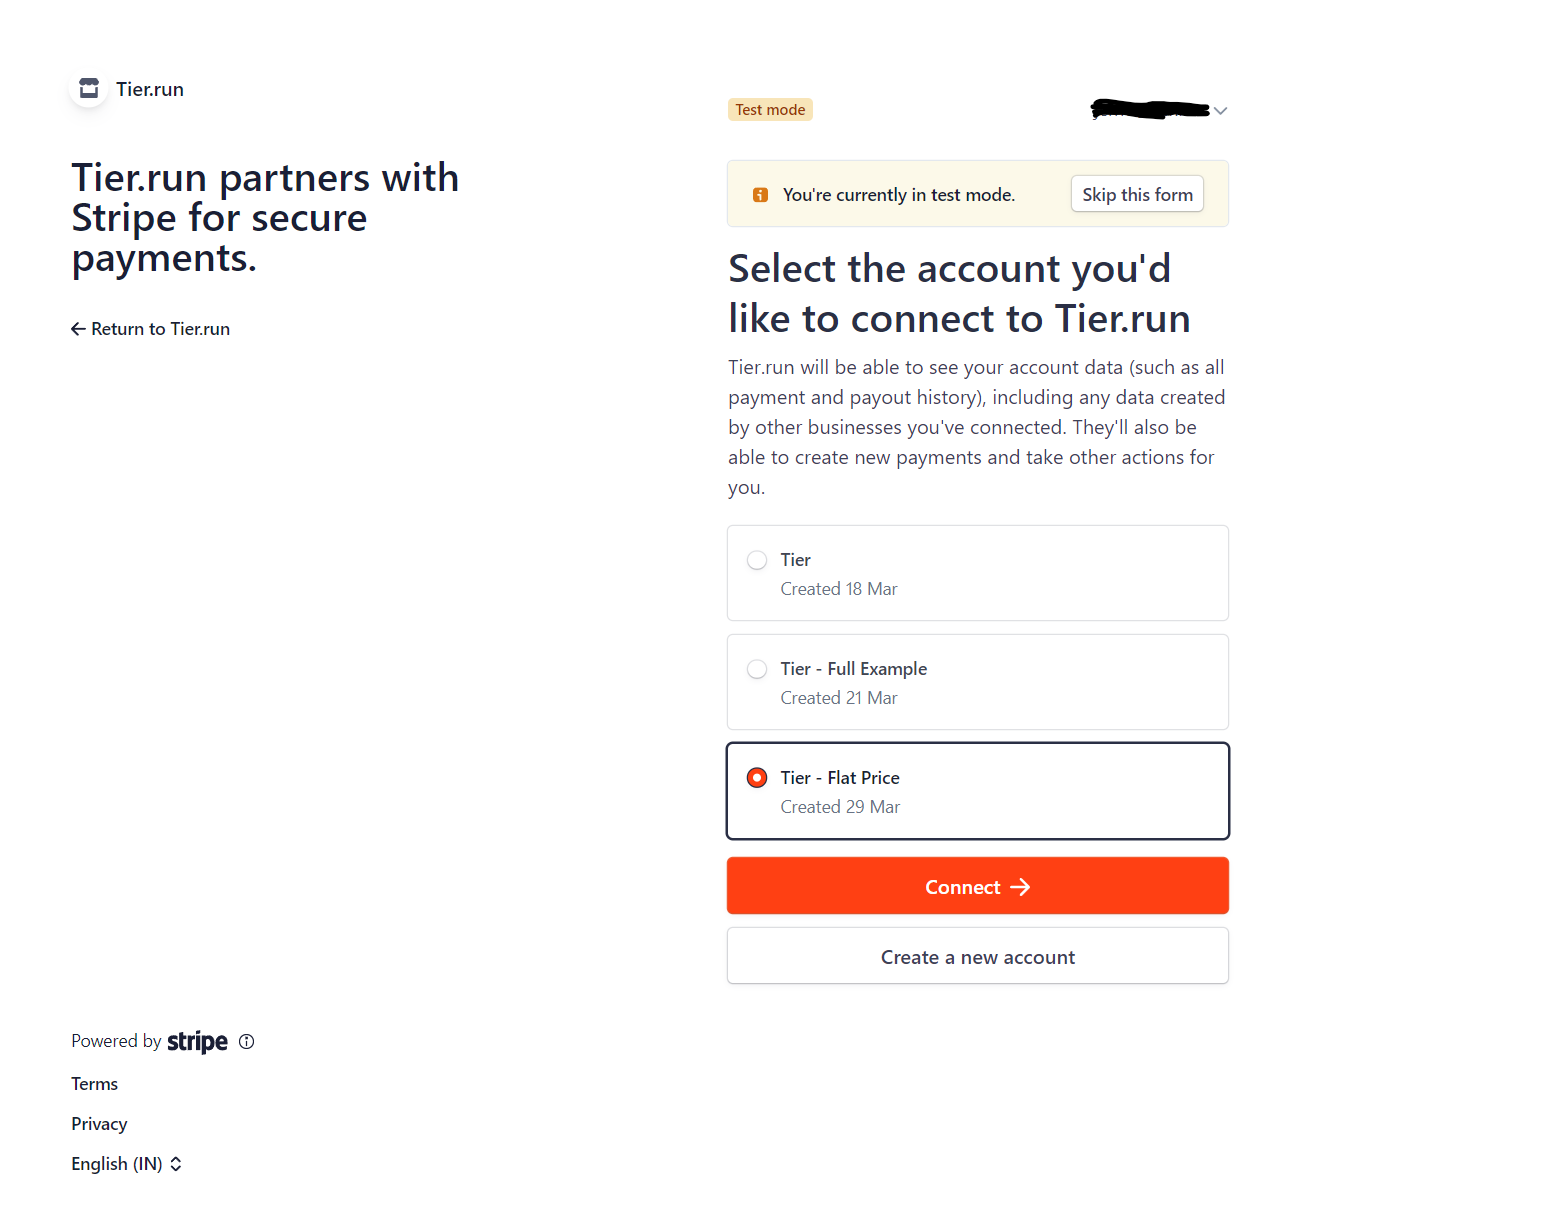
Once you click on the log in, it will initiate an OAuth flow with Stripe where you will be asked to select the account that you are interested to sync.
If you are in test mode, click on the account you want to test on and then click “Skip this form” to avoid account verification. When you hit production you might want to sync the pricing model with a Stripe account that is already verified.
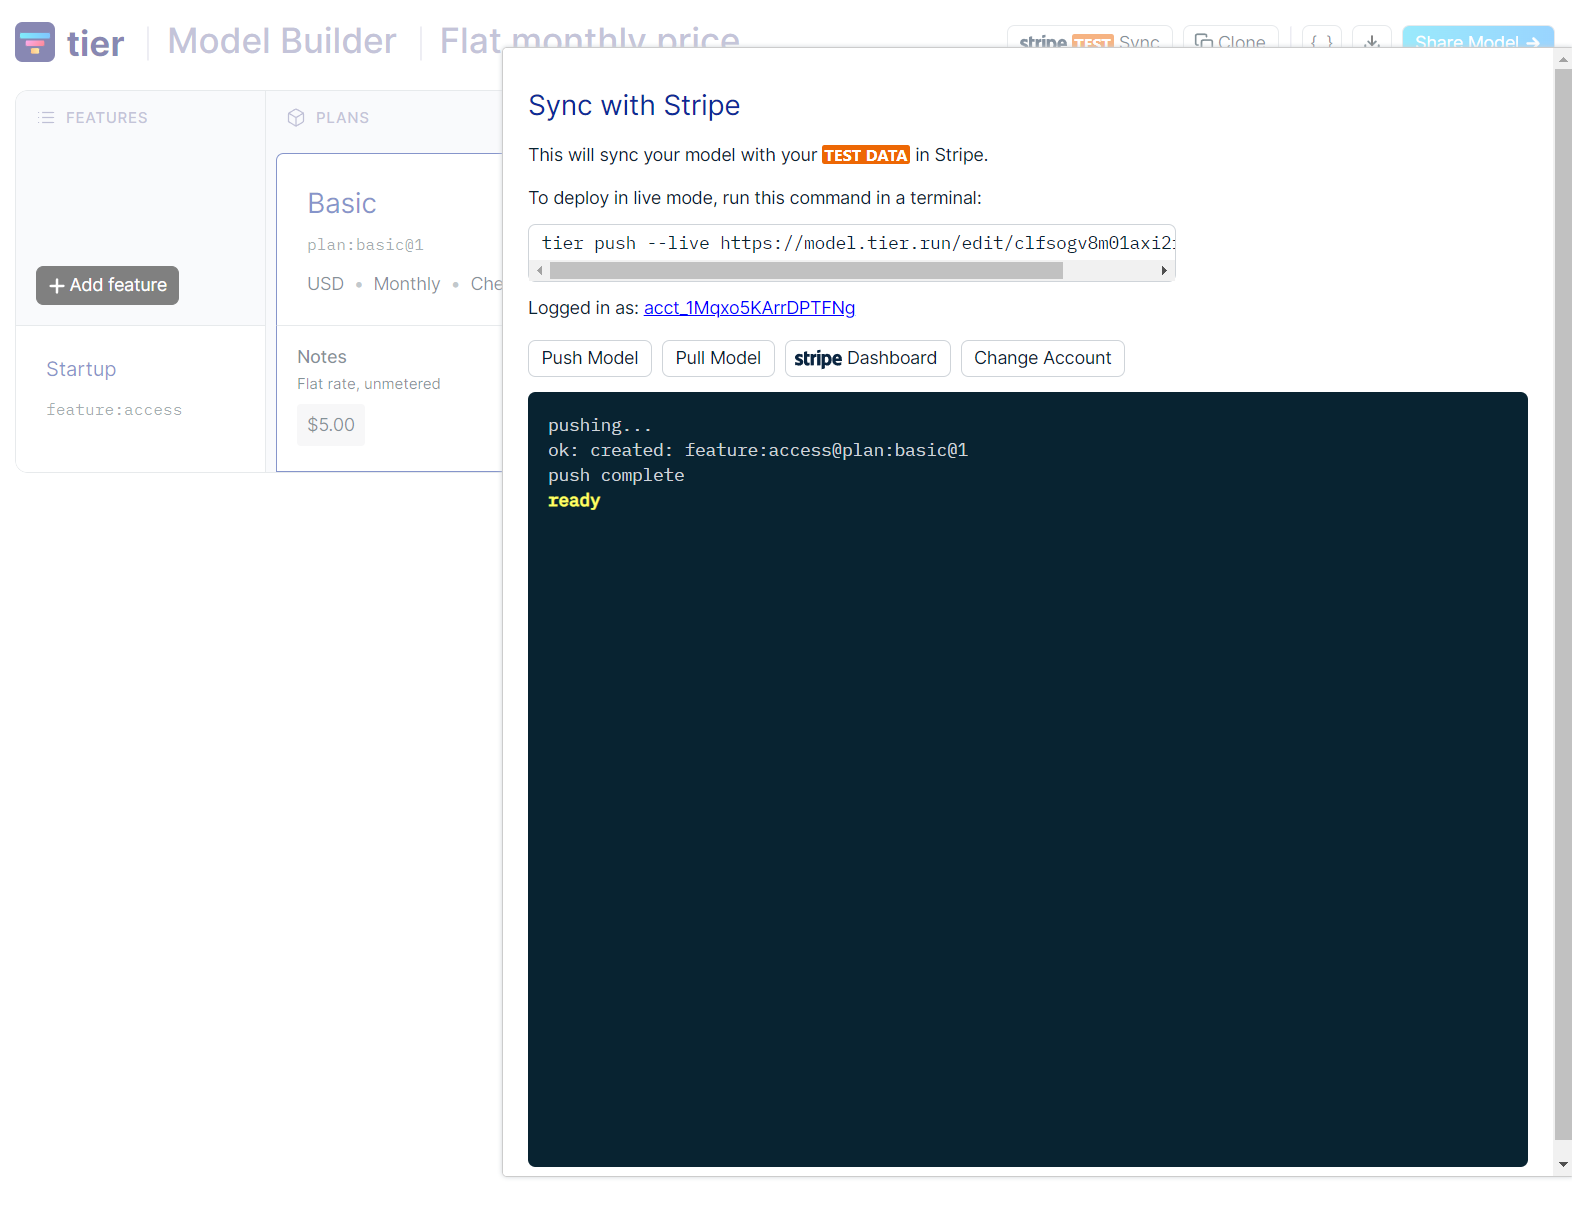
Once you’ve completed the OAuth flow you will be taken back to the model builder where your stripe account id will be shown with other actions like “Push” and “Pull” a pricing model. To sync the cloned pricing model, you will need to “Push” to Stripe. If successful you will see log entries like this in the side panel.
3. Integrate your app with Tier SDK
Let's add Tier SDK to your application, we offer native SDKs in both JavaScript and Go, if you are feeling edgy we have a community-contributed Elixir library as well.
Install Tier
npm install tier
If you do not see your SDK, please contact us here
Set the environment variables
To follow the best practice, you will need to ensure that all the API keys should be kept secret and set as an environment variable on process start.
Please take extra precautions to not add your environment variables in your repository, make sure to add .env as an exclusion in .gitignore, and make sure to not leak the secrets to the client side as well.
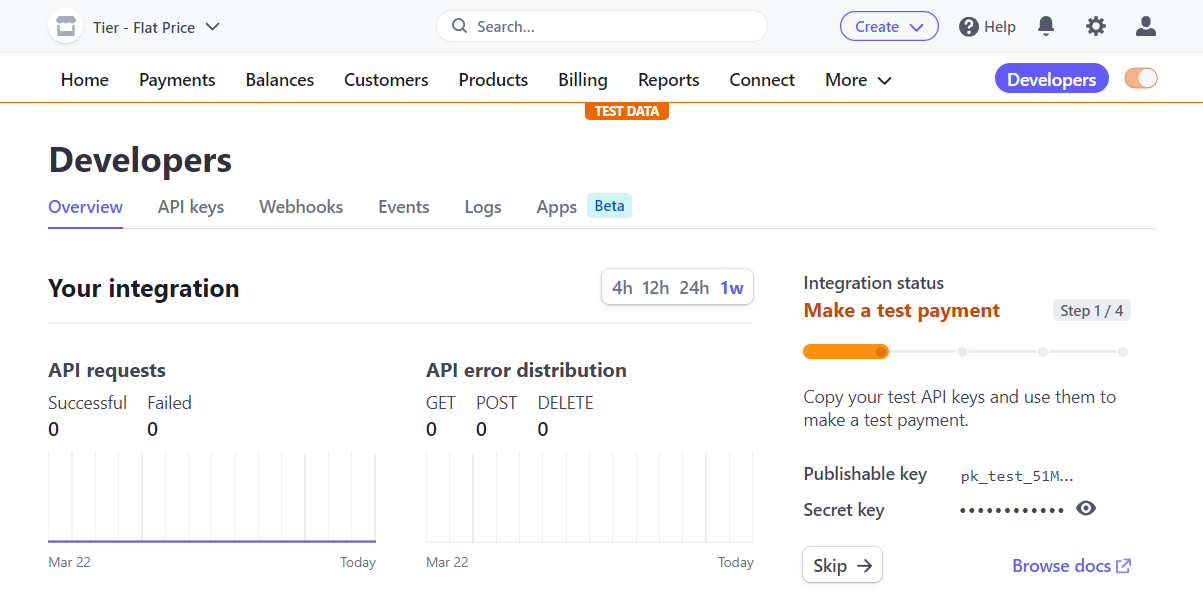
You will need to set your Stripe secret key as TIER_API_KEY and you will get your Stripe secret key from your Stripe account under the “Developers” page.
With the Stripe key in hand, you are ready to add them to your .env file.
Environment variables
// To make use of Tier Cloud Alpha you need to
// points base URL to our API server
TIER_BASE_URL = "https://api.tier.run"
// and set Tier API Key as your Stripe secret key
TIER_API_KEY = "sk_test_51..."
The SDK will automatically load the key if you’ve stored it as environment variables named TIER_BASE_URL and TIER_API_KEY. You can easily import Tier SDK in your code and start using it right away, let’s check if everything is wired up by pulling the pricing model that we just pushed to Stripe.
Import Tier SDK
import tier from "tier"
4. Present your pricing page
Let's fetch all the features and plans from the Tier pricing model builder. We can make use of pullLatest() from the SDK to fetch the latest version of pricing that we have pushed to Stripe.
Do note that pullLatest() might cause problems in production as any changes that you make in your model builder will be reflected in the data that is returned. This might not be the expected behavior and we suggest that you use pull() instead and manage your pricing version manually.
Get the latest pricing from Tier Cloud
import tier from "tier"

const pricingData = await tier.pullLatest()

return pricingData
Response
{
  "plans": {
    "plan:basic@1": {
      "title": "Basic",
      "features": {
        "feature:access": {
          "base": 500
        }
      }
    }
  }
}
Provide this data to the front end and you can easily populate a fully-fledged pricing page. Make sure that you set the planId for the subscribe button. This ID needs to be passed to the backend where you can call tier.checkout() to initiate a subscription for the pricing page.
You can try out a sample pricing page in Svelte using the following code, since we only have a single feature, we can hardcode that and use planId from the backend.
Pricing Table component
<section class="flex flex-col items-center w-full gap-6">
	<h1 class="text-lg font-semibold text-slate-800">Pricing</h1>
	<div class="flex gap-6">
		{data.map(([planId, plan]) => {
            <article
				id={planId}
				class="flex flex-col gap-2 p-6 border border-dashed rounded-lg border-slate-300"
			>
				<h2>{plan.title}</h2>
				<p>
					{(plan.features['feature:access'].base / 100).toLocaleString('en', {
						style: 'currency',
						currency: 'usd'
					})}
				</p>

    			<button
    				onClick={choose(`feature:access@${planId}`)}
    				class="px-6 py-1 text-base bg-green-500 rounded-md text-green-50">Choose</button
    			>
    		</article>
        })}
    </div>

</section>
5. Create a Stripe checkout
Once the user clicks on the button on the pricing page for a particular plan, send the plan featureId to your backend and call stripe checkout using Tier SDK.
Initiate Stripe checkout
import tier from 'tier'

const featureId = await url.searchParams.get('featureId');

const session = await user.getSession();
const user = await db.users.getBy({ session.user });

// Success and failure URL
const successUrl = new URL('/welcome', env.DOMAIN).toString();
const cancelUrl = new URL('/pricing', env.DOMAIN).toString();

// Create or update new org information so that the user fields
//are pre-populated in the checkout
await tier.updateOrg(`org:${user.id}`, {
    email: user.email,
    name: user.name,
});

// You will get a checkout URL, and you can easily navigate the user to this.
const checkout = await tier.checkout(`org:${user.id}`, successUrl, {
    cancelUrl,
    features: featureId
});

throw redirect(303, checkout.url)
You have now successfully created a checkout flow for your user.
6. Grant access to users.
Once you have a paying customer you can always check for their access to a feature using can(). This will enable you to hide features from non-paying customers.
Entitlement check
import tier from "tier"

const answer = await tier.can(orgId, featureId)
if (answer.ok) {
  // Let them use the feature
}
With this, you have the basic building blocks of a Tier-powered application with flat pricing.