Create & sync a pricing model
Learn how to create a simple flat rate pricing model and sync it to your Stripe account.
Before getting started
To get the most out of this quick-start guide, you’ll need a stripe account (you can keep it vanilla, we’ll guide you for additional steps).
You can skip steps 1-3 and clone the pricing model directly for this example from here. You can also checkout step 4 if you want to know how to clone a pricing model.
1. Basic building blocks of Tier pricing model
A pricing model should primarily consist of
- Plans - These are collections of features and define the billing frequency of the plan.
- Features - The atomic functions of your application that give value to your customers are configured separately based on the plan. These configurations will define whether the user can access the feature or not.
Check our documentation about Tier model builder for more information.
2. Create Plans
Let’s assume that we are planning to create a very basic - flat rate pricing model which will have 3 tiers of pricing, we will add features and entitlements to it later.
Our flat rate pricing model will have “Basic”, and “Startup” plans billed in USD every month. Lets start adding them to our model builder:
- Visit model.tier.run to create our pricing model
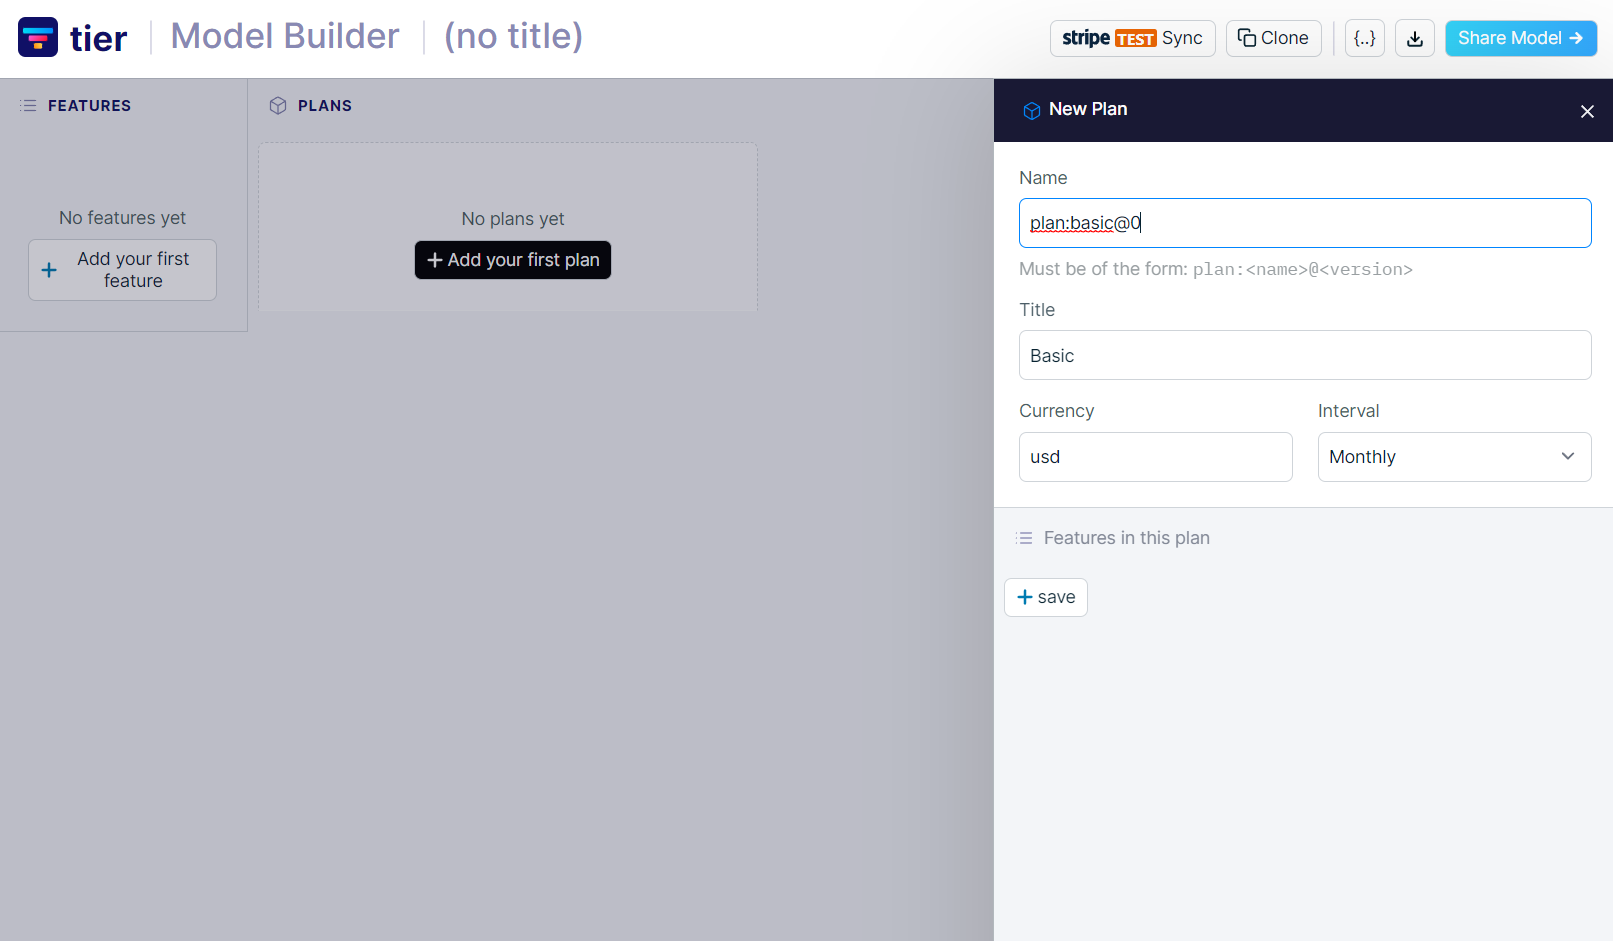
- Click on “Add plan” to create each of the plans.
- You will need to provide a unique plan name in the format
plan:<name>@<version>, like for “Basic” plan it will be “plan:basic@0”. - Provide the name of the plan under “Title”
- Select the preferred currency and interval of your payment
- Click on “Save” to add your plan to the pricing model
You can repeat the above steps to create the remaining plan, and it should look like this
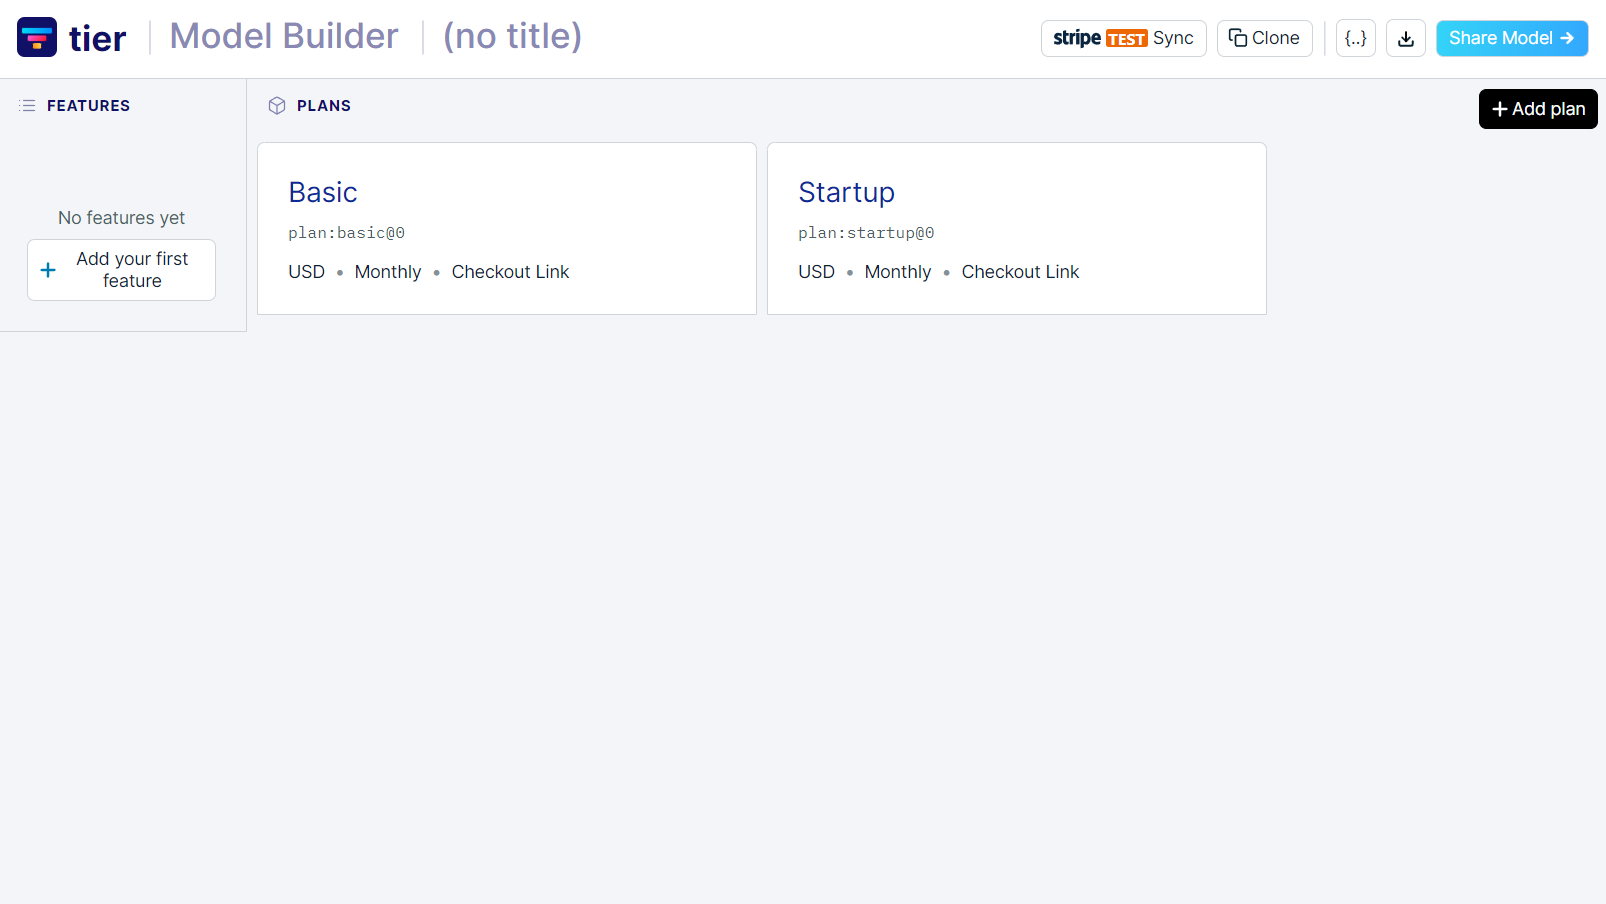
You would’ve notice that we do not associate a plan with pricing yet. In Tier we take that from a combination of features and entitlements.
3. Add Features
For the sake of this very basic pricing model we will create 2 different features that can be accessed by your customers based on the plan that they are subscribed to.
Feature 1: Access to the product @ $10/m - Since we do not have a free tier, its obvious that that we should check if the user have access permission to the product and hence the first feature is “access”. This will be applicable for both the plans.
Feature 2: Creation of notes @ $20/m - Only “Startup” plan users will be able to create notes.
Lets start adding these features to the model builder:
- Click on “Add your first feature”, you will be presented with a sidebar, similar to the one used during Plan creation
- Provide a unique name for the feature in the format
feature:<feature-name> - Add a Title for the feature
- You will be shown with the the list of both the plans that we already added to the model builder. Click on “Add to plan” button to add further entitlement configuration for the feature.
- If you want to override the name of the feature under a different plan, you can do that by changing the “Title”
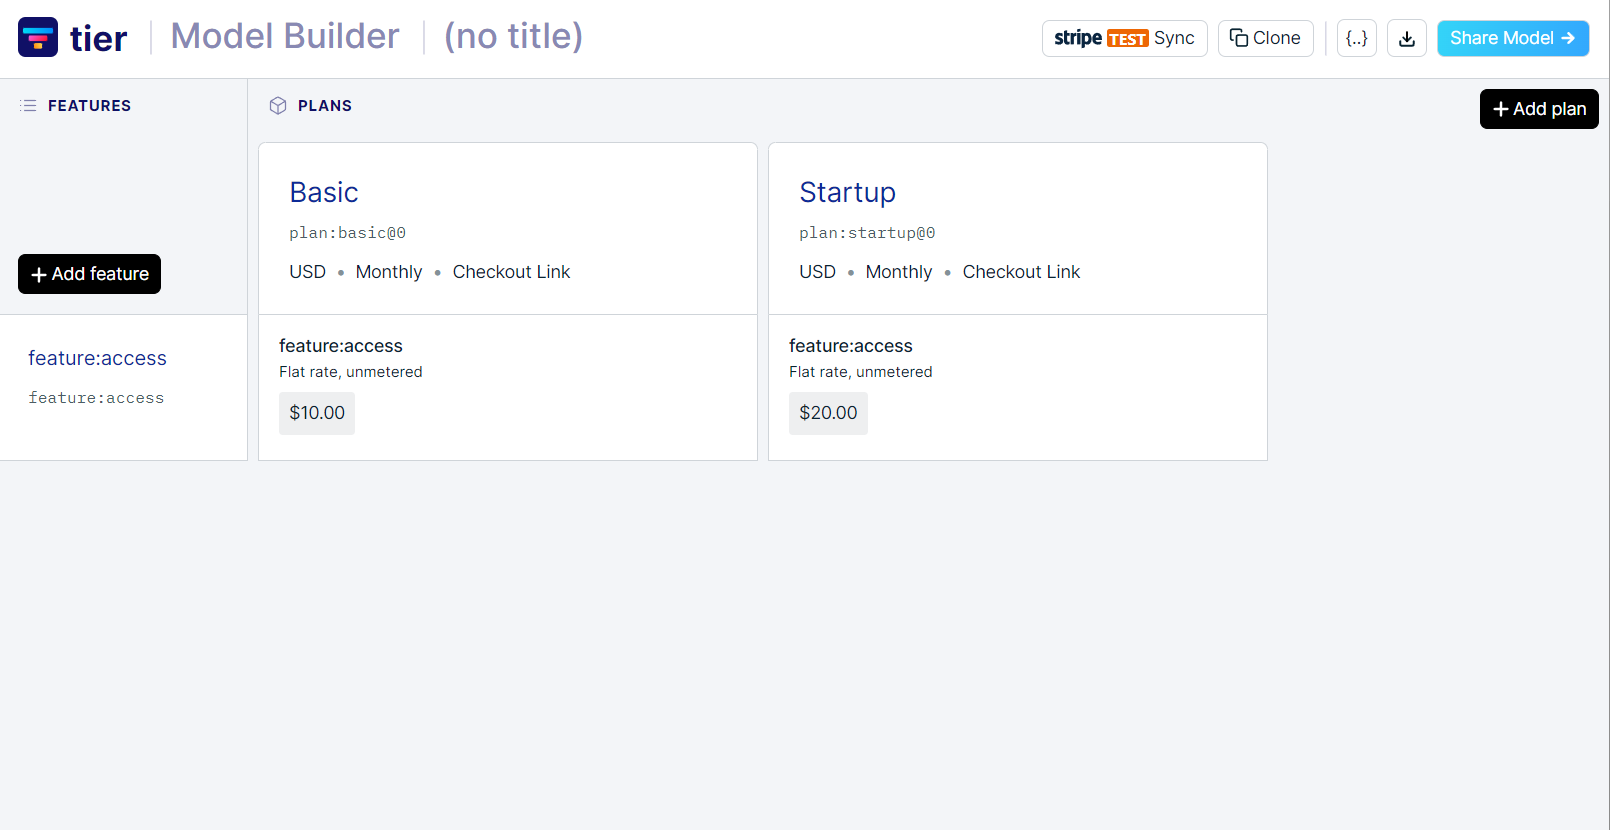
- Since we are implementing a flat price product we can select “Flat fee”
- Provide the rate of the feature under “Flat fee”, and you should add two “zeros” to your pricing as we describe the pricing in cents instead of dollars. Eg $10 should be written as 1000
- Ignore the rest of the fields
- Similarly add a flat rate of $20/m for “Startup” plan
- Once you’ve added your entitlement setting for each features under the plans, it should look like this
Similarly you can add more features and link it with your plans and for this example it should look like this
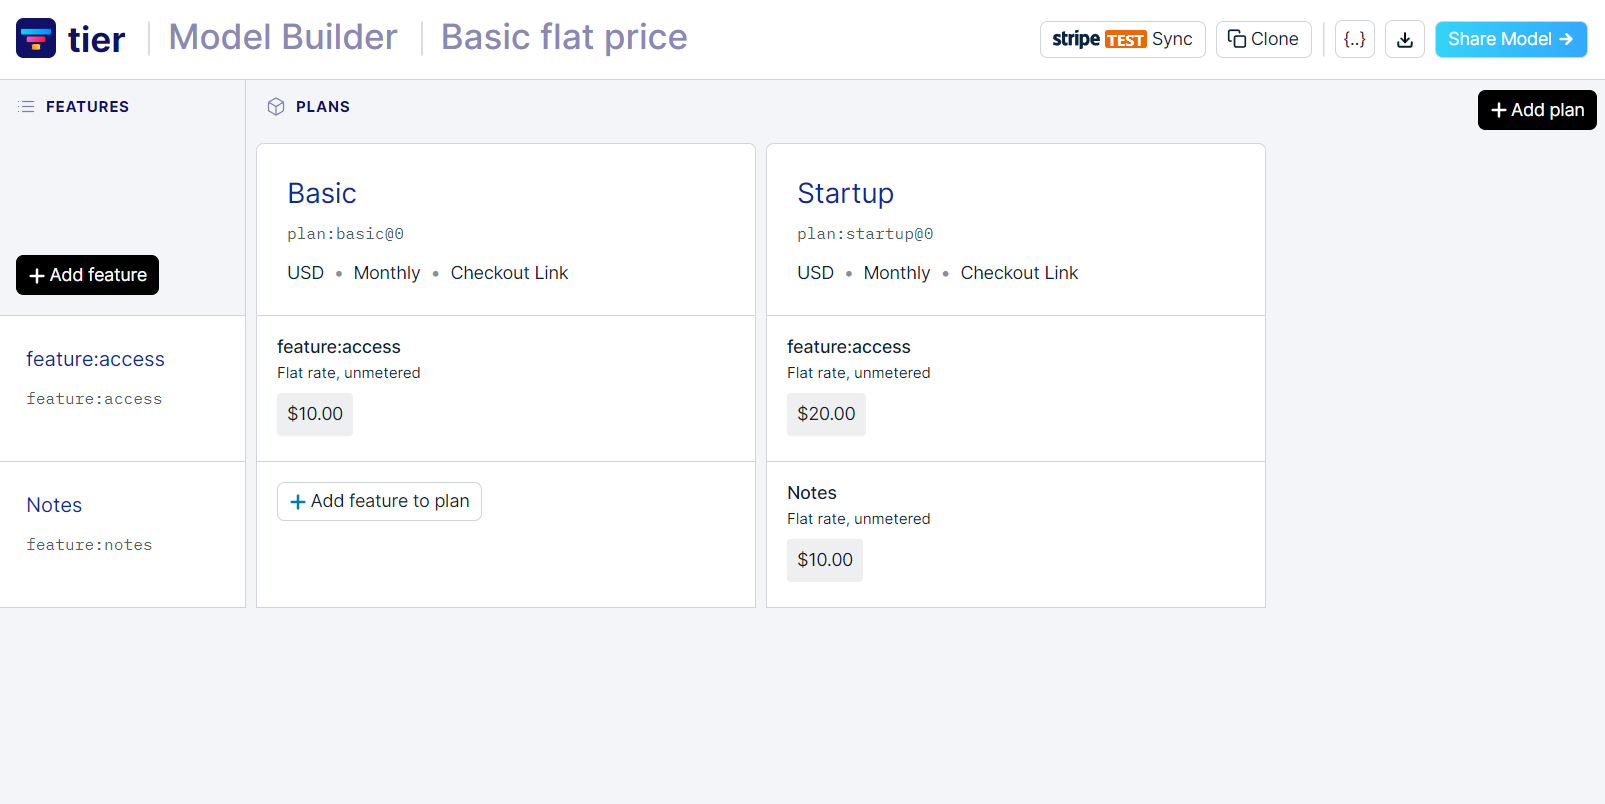
You can checkout the final pricing model here
4. Clone the pricing model (optional)
You can visit our pre-populated pricing model for this example here. You can easily clone the pricing model using the “Clone” button and you will have it all ready and personalize it to your needs.
5. Sync with stripe
Now lets sync this pricing model with your Stripe account. Follow these steps:
- Click on “Stripe Sync” button
- Click on “Login to Stripe” button from the sidebar
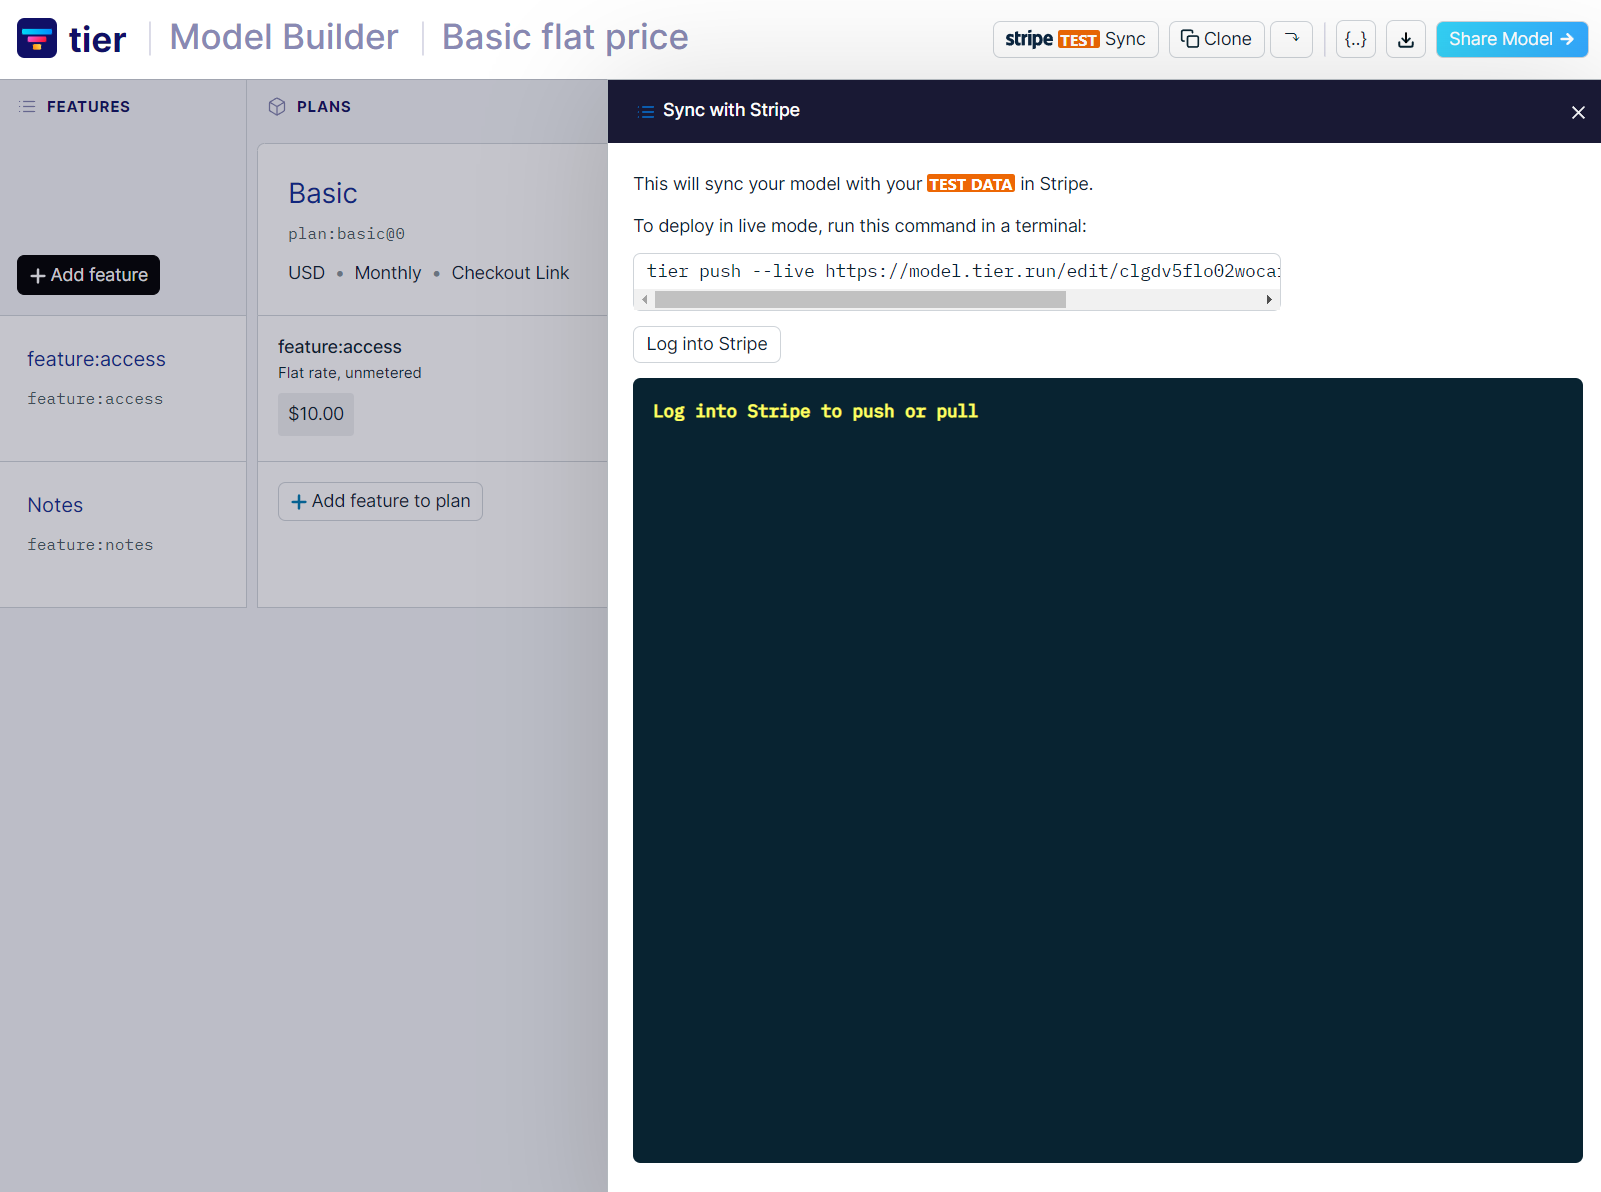
- This will initiate an OAuth flow with Stripe and will be shown an interface where you can skip any business verification requirements and proceed

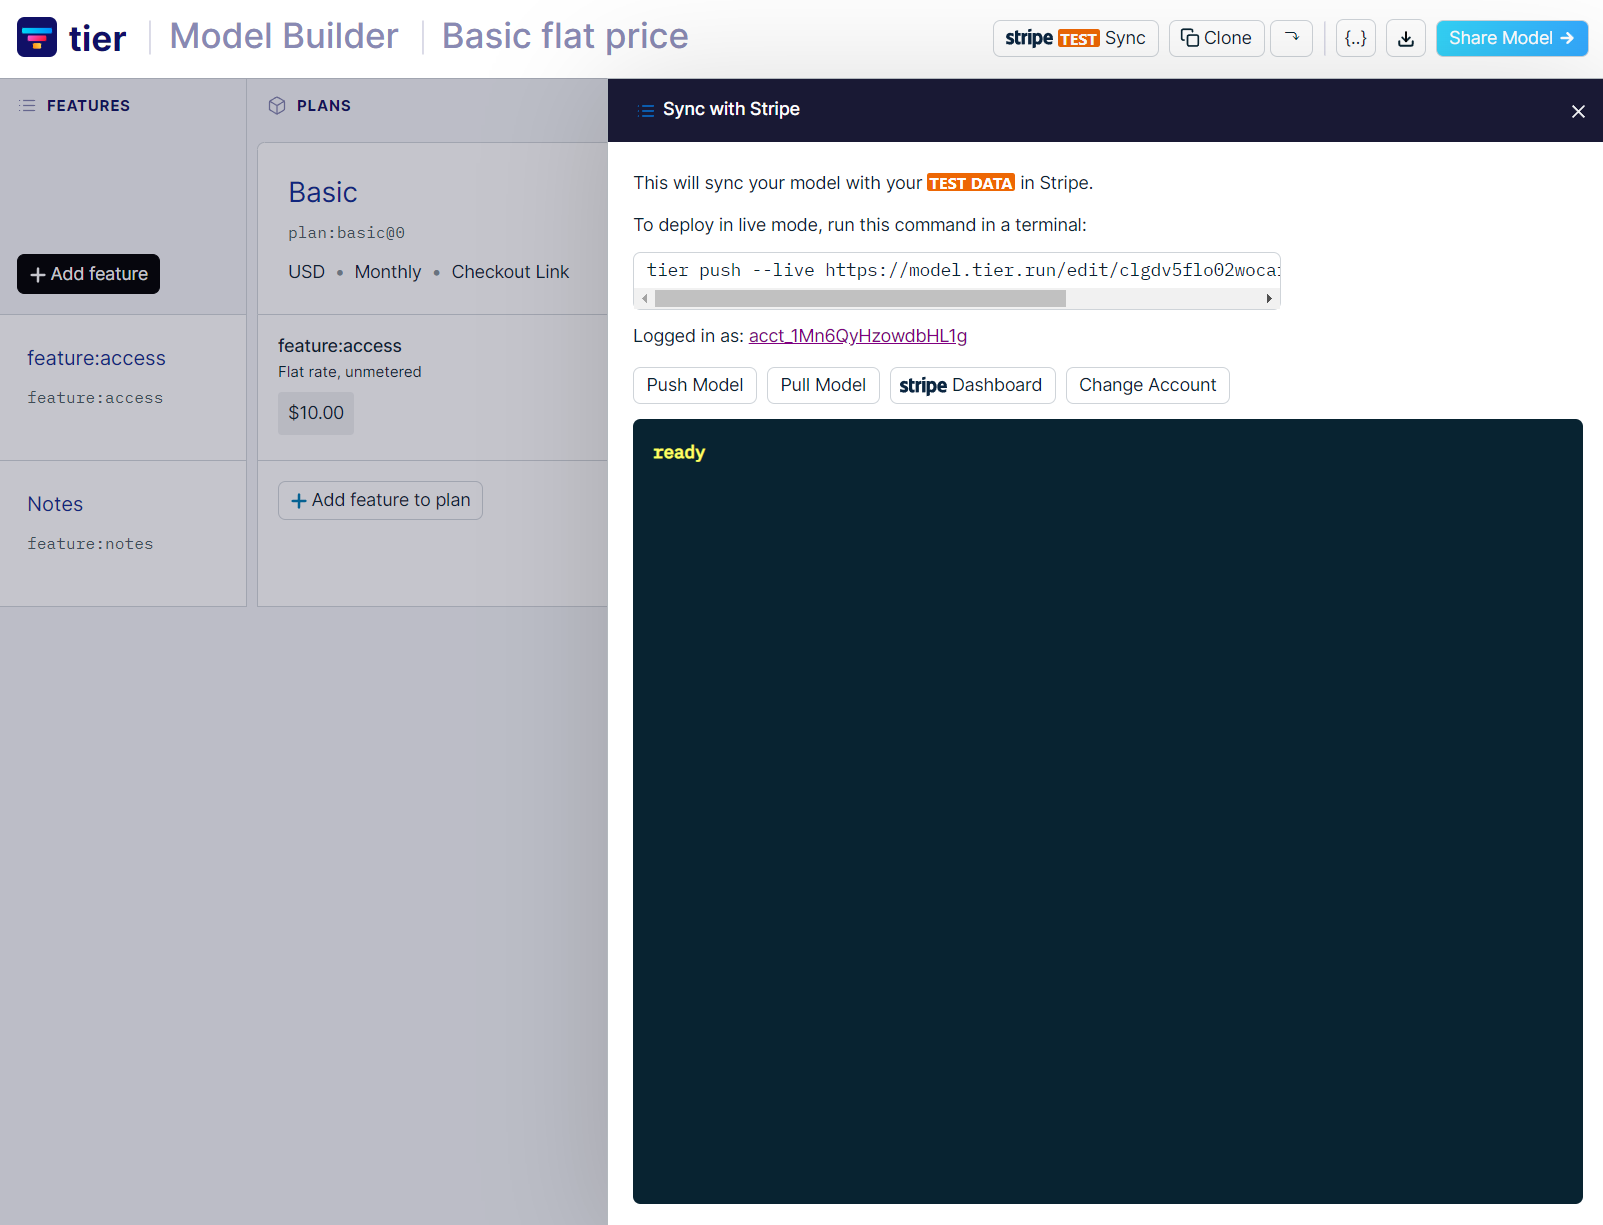
- Once you click on “Skip this form” you will be taken back to Tier, where you will get to see your “Stripe account ID”.
- Once you are ready to sync the pricing model with Stripe, you can go ahead and click on “Push Model” and if it was a success you should see a prompt as shown here.
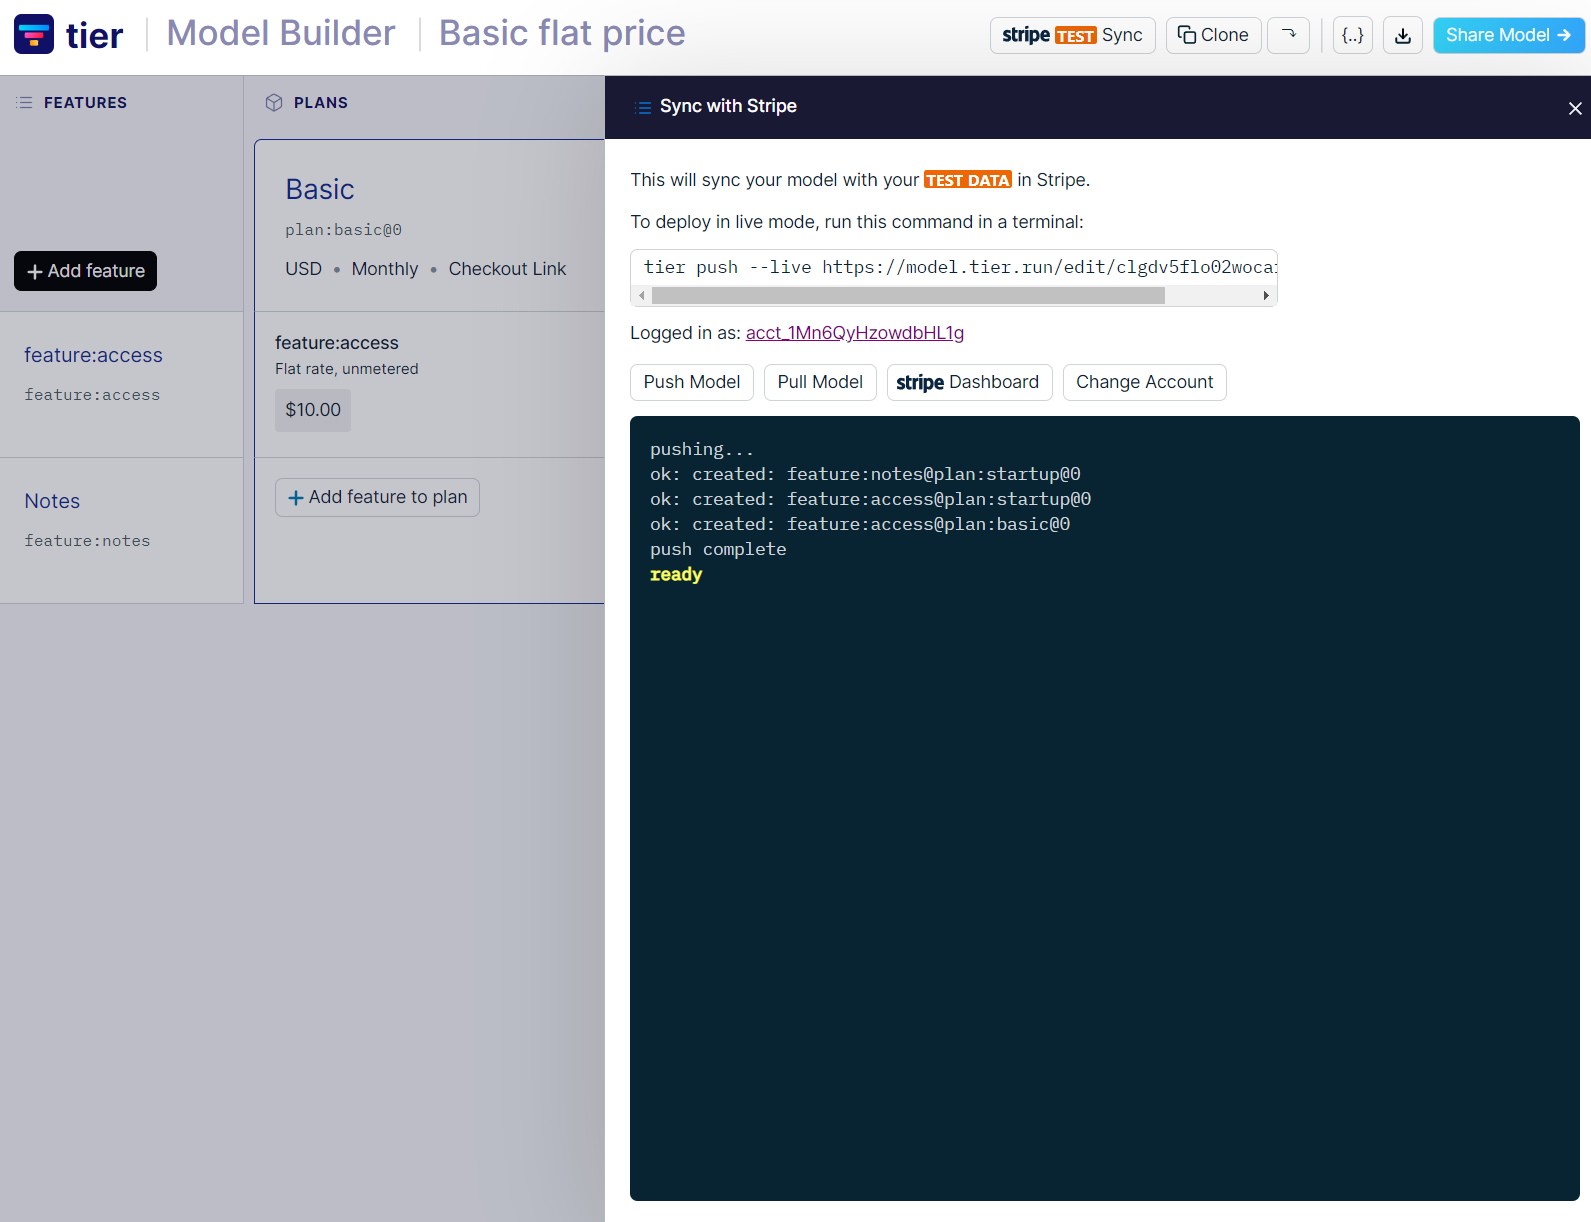
You have successfully created a pricing model and synced it with your Stripe account as well. You can play around with the pricing model, we have made sure that Tier can accommodate both your simple and complex pricing models as well. Give it a shot and let us know what you think.